I've been getting out {GrEeN StUff} to decorate for St. Patty's Day.
Every Season/Holiday~~I add to our HOME decor.
This week, I made.........This 'OH, SO CuTe' "KISS ME" sIgN.

AND THESE SIGNS...


.
.
.
HERE's HOW:
#1, have a stash {ie: BE a Hoarder} or find a craft store who is selling wood letters and shapes. I happen to have this huge stash of wood letters from projects I would make and sell at BOUTIQUES and such~~~OR


Have U heard of THE WOOD CONNECTION?
I bought the clover from THE WOOD CONNECTION store.
{They also sell wood letters and shapes too}. Their info. is here.
I also bought these boards with a routered edge from THE WOOD CONNECTION. They have a ton of different sizes to choose from. Another source is buying the plaques from a second hand store. If they have a vinyl saying stuck on them, heat them up with a blow dryer and peel the yucky sayings right off. OR if they have something painted on them, just take sandpaper to it. You don't have to get it all off, just the ridges of the paint. After that step, it is best to sand them a bit and then wipe them down with a damp rag.

 NOW, just start laying the letters out until you get everything just right.

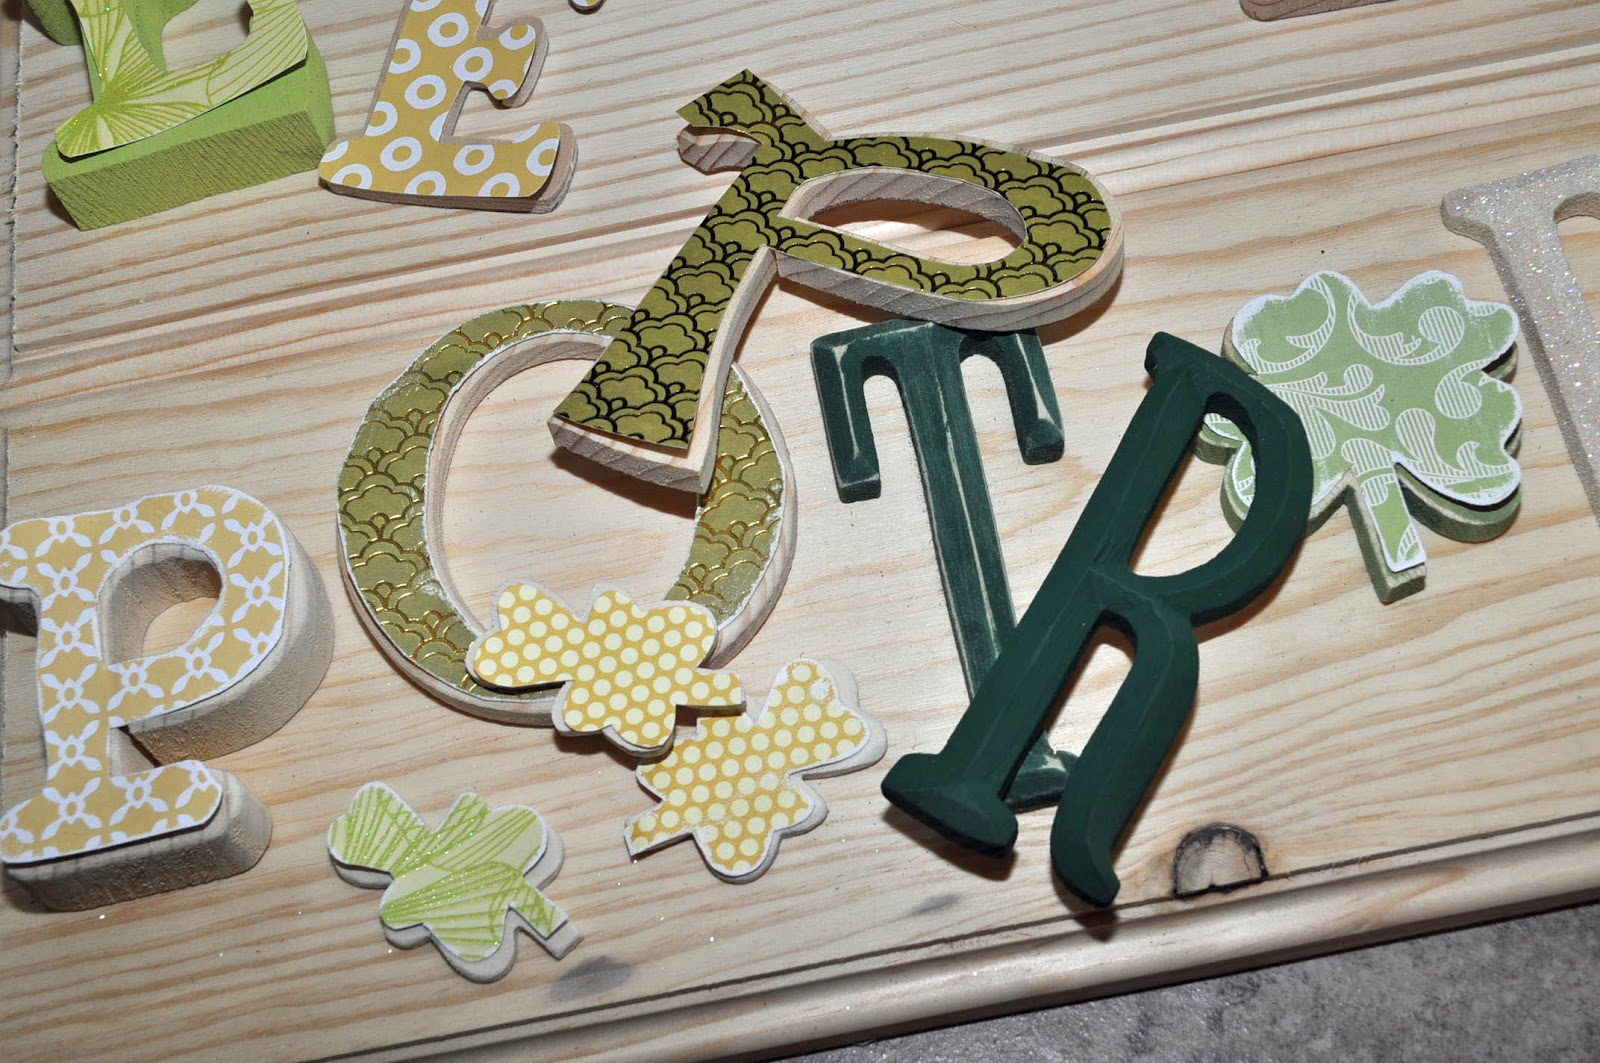


Before you seal the letters with a topcoat of MOD PODGE, rub ink or a dry brushing of paint (in black or brown) to the ridges.
This adds a cute detail and more depth.
411 on THE BOARD:


Now, add paint to the board. I like to water down my paint a bit, so that the wood grain shows through some. You can also sand some of the paint off after it drys for a distressed look. Make sure you knock off the paint on the corners and all the high edges. Then I like to add a layer of MOD PODGE in a gloss to the top. It is easier to seal it now than later, when you have to get around every letter and little hole. After this dries, use wood glue to attach the letters and shapes. I also spray it with a gloss poly coat to seal any glitter and paper, and for extra durability. Let it dry very well.
{D}arLiNg {D}ecORaTionS...


{Here} is a little more decorating
around here....


LAST YEARS CREATION~~I MADE A TON OF THESE FOR A BOUTIQUE.

~~THANK U ETSY FOR THIS LITTLE GUY~~


 NOTE:
NOTE: I didn't make ALL of this stuff.


I didn't create this one. She did...CLICK HERE.





















 Posts
Posts