
BEFORE:
I got this from a guy called "CRAZY DAVE". I was expecting an entertaining negotiation, BUT he was "BORING DAVE"! Maybe, he only gets "CRAZY" after a few & at night. HUM????

AFTER:
I sanded and puttied here-n-there. Then, I apply vasoline where I didn't want any paint to stick. After that step, I sprayed the piece with a white paint that had the primer already mixed into it. (Don't ask me what color white, because it was something I had in the garage already. Sometimes, when I am running low on a color, I mix all that I have together and voila! More paint,right? It totally doesn't matter what I start with, because when I glaze, it takes on a different color and finish.)
IMPORTANT: You have to spray vaseline-edged furniture. The brush can't stroke across the vaseline. It's never going to work~ just smear and wreak havoc!!!

When the paint had dried mostly but hadn't completely cured, I scraped the paint off where I had applied the vasoline. Whenever I could, I would "tear" into the paint even further than where it wasn't sticking because of the lube. That is why I worked on it before totally curing!
It gives a piece a more cool edge that looks amazing. The trick takes practice. I use a flat edge scraper. There isn't any rhyme or reason, just have at it. It is all the artist's preference.
NOTE: It is totally easier if it isn't staying at your home. You aren't as critical and know that you are going to be staring at the distressing forever.

{Anyway}, after I have all the distressing completed, I let it cure. Then, the piece is glazed and finished with a poly. My favorite piece of this CREDENZA (besides the drawers, and storage) are the knobs. I found these right after picking up the piece. I think it's amazing that the doors are cubed and the knobs are checkered too. Thus, the black accents.


Awe, the drawers.
I LOVE a piece of furniture that I can add a {POP} factor to. In this credenza, at a glance it really doesn't have much to it BBUUUUUTTTTTTTTTTTTTT~~~
Open the doors and WOWsers-fun!
I did the stenciling with these.

I bought them at Lowe's. I love them because they remind me of
{Damask fabric}
* which I am loving lately *


~Don't stress too much about clean edges...you're going to sand them for a distressed look anyway~
 When you stencil, make the pattern random on each drawer. You don't want them to look like they were printed from a warehouse (stamped-like in mass production). Does that make sense? You want them to compliment each other and balance each other. Don't make one side heavier than the other. I eyeball everything (except for hanging things on the wall.)
B.T.W.
~~An innocent step stool~~
{T}his stool was nearby and sooooo.....
...It also got {D}amasked.
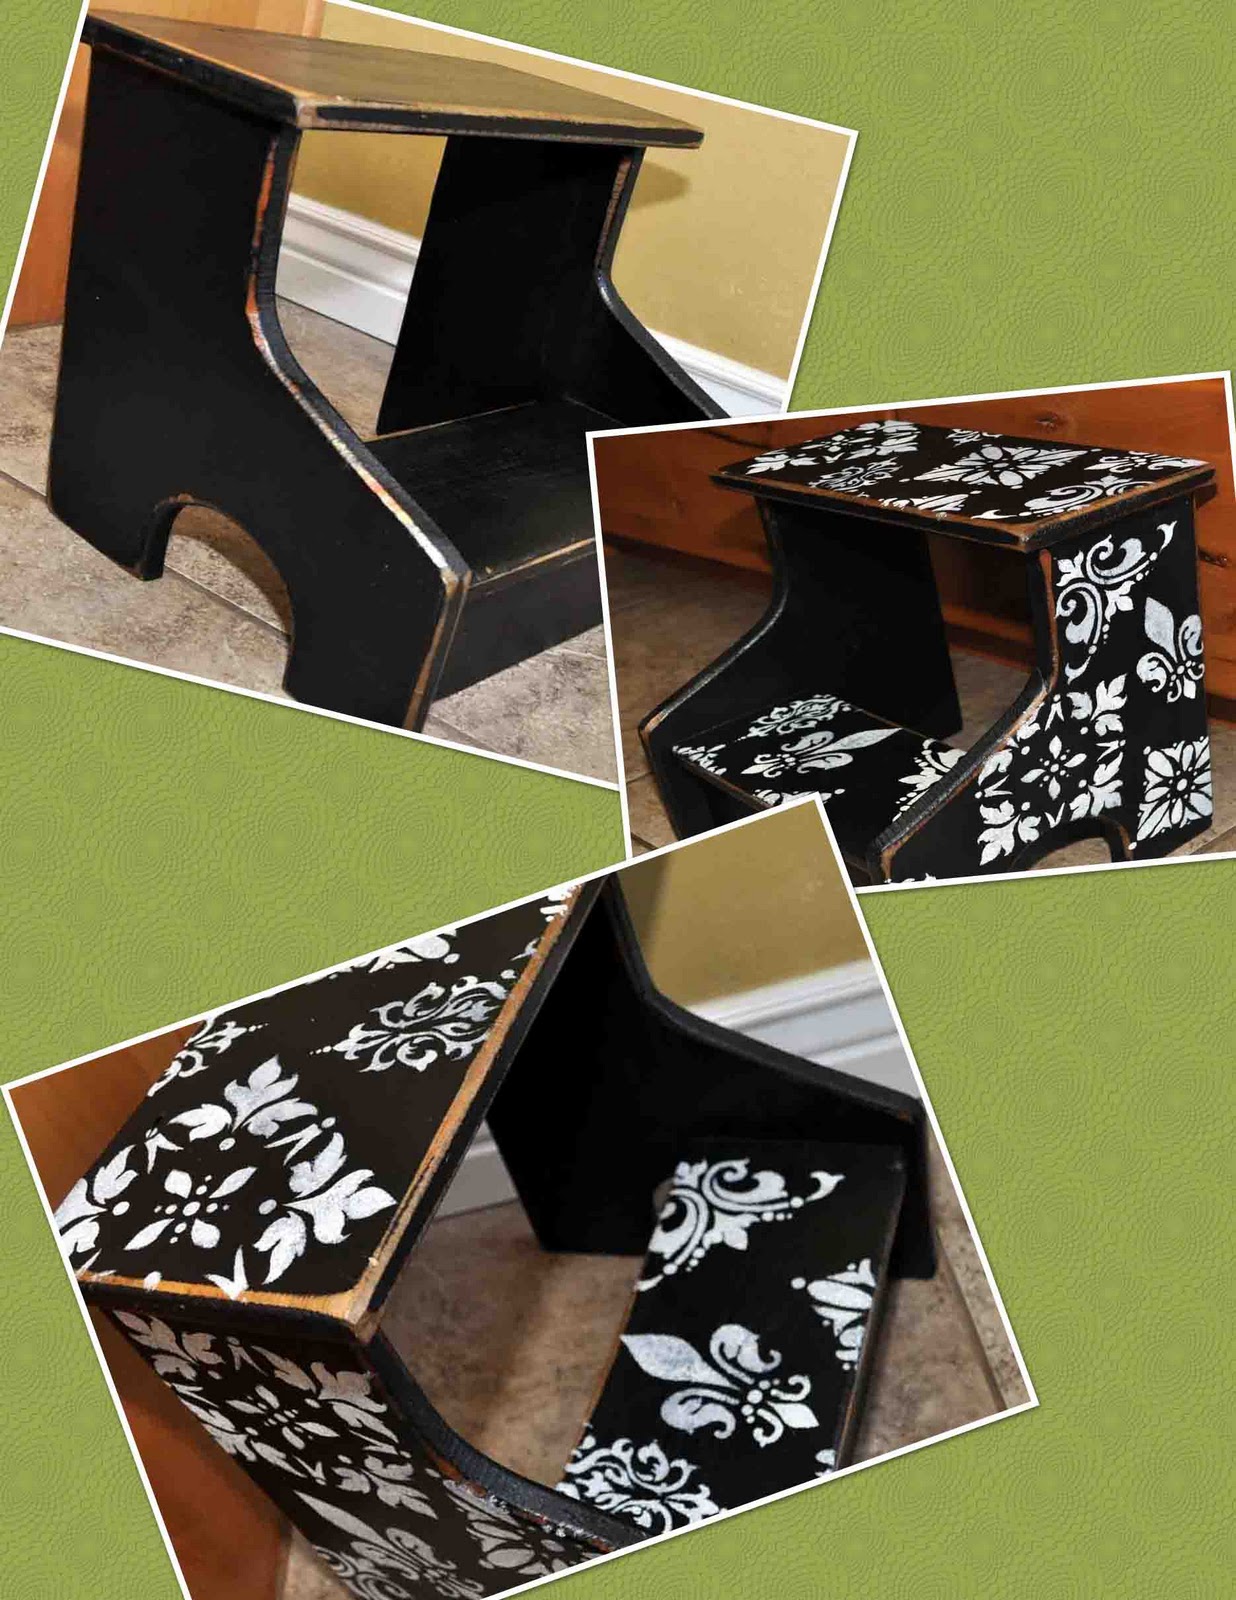 "
"My little girl woke-up from a nap....very happy to see the "new girl" version. Her older brother, whom it was originally created for, not as happy.
I got this step stool from The Wood Connection


 Posts
Posts


