I've been crafting some Spring decor for my home. Here is where it all starts-a bunch of scribbles during a boring meeting/or car ride/or sporting practice.

Then some cutting with a scroll saw or jig saw. Depending on the size of the project. This one was with my "Late" scroll saw. I use the word "late" because shortly after, it was taking from our garage and has been MIA ever since. NOTE TO THEFT: I hope it cuts your finger off! Anyway, I usually can draw it out free hand onto a piece of newspaper. If the newspaper isn't large enough, I tape more pieces together until it works. Then, I sand them with an orbital sander. First with a 80 grit to knock off the corners and then an 180 or 220 grit (which ever is within reach).

Next, I wanted to create an effect that was "more then" a painted surface. So I went with scrap-booking paper. I trace out the size to fit, Mod Podge it on, them knocked the edges off with a 80 grit sanding block.

For the legs, I copied/traced these legs from a turkey decoration I already had. I bought this turkey from a boutique and don't know the artist to give credit to her. Anyway, I bought the turkey because of these funny skinny legs. So, I wanted to use them in my next poultry project. They're funny, right? Anyway, then I painted them with a mixture of a golden yellow and creamy white. Whenever you can add more then one color to a project, do. It adds more interest and dimension.

These are the two colors I used:

When I Mod Podge the paper to the wood, I use this handy rubber scrapper thing. It takes all of the air bubbles out easy and lays the paper down flat. I got it at a vinyl store. Oh, I works great for vinyl projects too.

When the Mod Podge dries for about 30 minutes, sand the edges. At this point, I painted some of the edges too.

Now more about adding more then one color when painting projects.....I did just that when I painted the "egg shell". It is naturally a whitish color but I added a bit of yellow to the strips. It added a bit more cuteness.


I added some Mod Podge in stripes and then pour glitter onto the wet spots. I gave it these cute glitter stripes. Anything goes with tole painting.

Some color for the eyes. After the paint dried, I added glitter to the eye lids. She's a girl chicken and who doesn't like GLITTERY makeup?


Next, some eye lashes. I just drilled into the edge and then hot glued some curled wire into the holes.

Finally, I added some ribbon here and there. Used wood glue to glue all the body parts on and then weighted it down until dry. As you can see from the pics, this project was created in my kitchen. Thus, the weighs are glasses. Hey, at least I used newspaper for spills this time!


***FINISHED***
SO DANG CUTE


.
.
While my kitchen was dirty with crafts, I also worked on these......bought from "The Wood Connection". I did the same steps as above except I added a glaze to the edges instead of painting them. I had already crafted this the year before but didn't like the paper after I finished it-so, I changed out a few letters with different paper. Added more ribbon, and LOVE it again. To buy you one.....go here.


***A quick change of color***


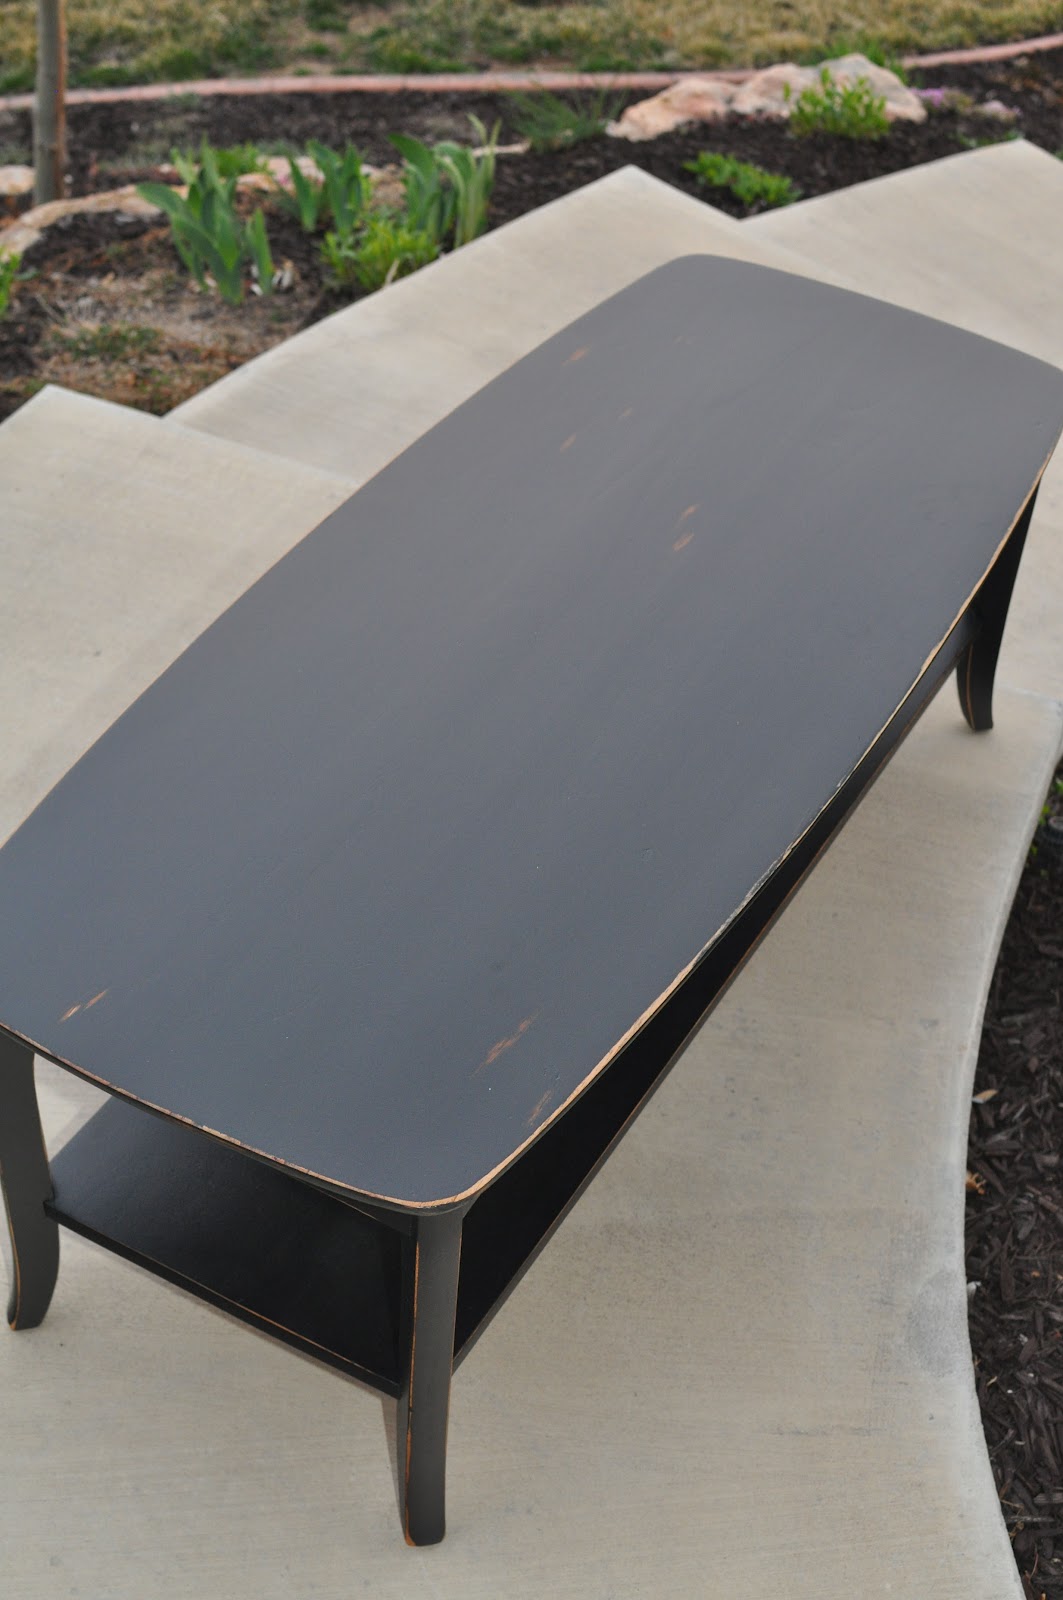
Do you remember crackle? I went old school with this project. I think you can use a little here and there, just not over kill it.
First step, I painted it white and grey, then painted the center area (which used to be maroon) turquoise. Next, I followed the directions on the crackle label. After the drying time, I added a top coat of white. The whole thing was REALLY EASY and I finished it in an hour.


Productive day.